Vandas are impressive orchids that are relatively easy to grow.
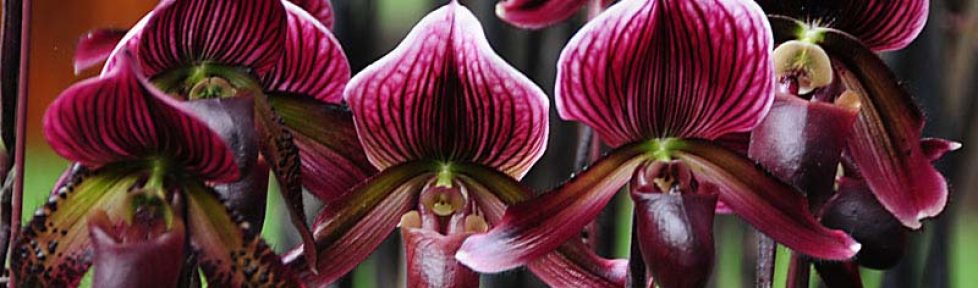
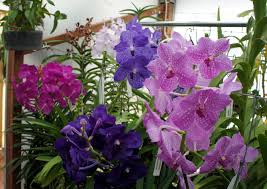
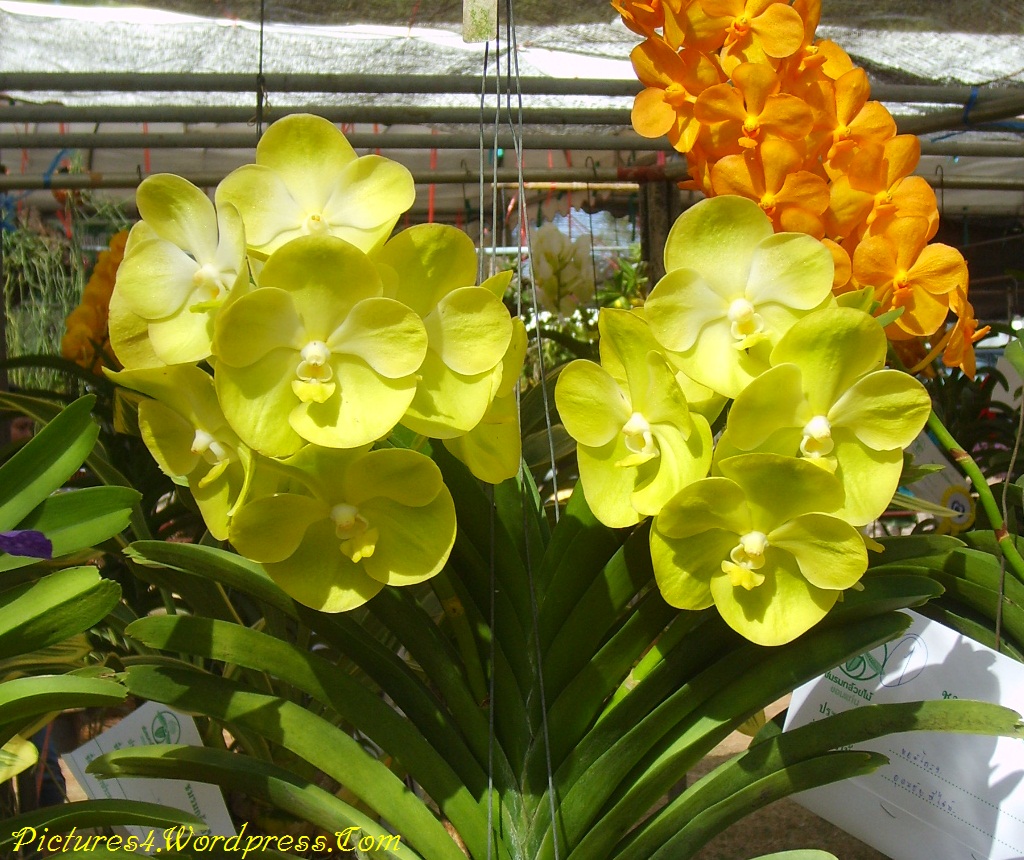
Vandas are monopodial, which means that the new leaves grow from the crown of the plant. This means the vanda is continually getting taller. Vanda flowers come in beautiful and superbly vibrant colors, including purples, blues, reds, oranges and yellows. The flower spikes are very long and they usually have 8 to 10 blooms, which are located in a cluster at the end of the stem. The flower stem grow from the base of the leaves and can last for several weeks. The long, heavy, flower laden stems can sometimes make the plants difficult to hang up and display at Orchid Shows or in your home, and may require additional support during blooming.
LIGHTING
Vandas need an abundance of light. They like either bright morning sun and/or late afternoon sun, providing the sun exposure occurs gradually. The plants need to adapt slowly to the any increase in lighting. A good tip is to provide full morning sun whenever possible. You don’t need a greenhouse to grow Vandas. Any outside location with bright morning light will do, but be careful while making the change to brighter light. Try not to expose it to direct sun on the leaves, just bright light. Move it gradually, over the course of several weeks, into brighter and brighter light and be careful to do it a little at at time.
I had my first Vanda for five years and it never bloomed. I didn’t know what I was doing wrong. It seemed healthy but wasn’t flowering. I was fortunate that at one of our SFVOS meetings, there was an expect who shared his knowledge about Vandas and explained to me that Vandas are happiest when they get very bright light. The very next day, I moved my Vanda from the east side of my greenhouse to brighter west side of the greenhouse and I hung it up from the rafters at the top. I am happy to report that since moving my Vanda to brighter light, it has bloomed three times in the last year, and each bloom is more beautiful than the last.
TEMPERATURE
Vandas prefer to be kept on the warm side. Vandas do best when when the nighttime temp is between 55 to 70°F and when daytime temperatures range between 65 to 95°F.
WATERING
The general “Rule of Thumb” for watering Vanda should be: Hot temps = more water, and cooler temps = less water.
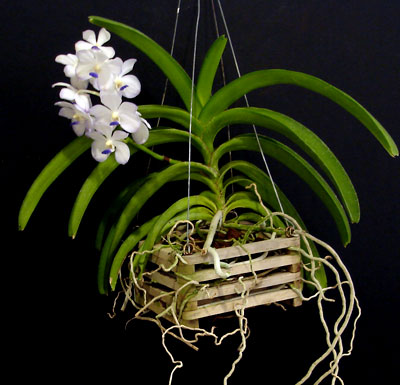
My Vanda is growing in a wooden cage with the roots all flowing out. Some of the roots are 24 inches long. I have very little potting media in the cage, and most of the roots are loose and free, but many of them have attached themselves to the wooden cage itself. I generally water mine about once a week, but when the temperatures are over 95 degrees and the humidity is low, I give it a daily shower.
Remember that Vandas grown in baskets, without potting media, require more frequent watering. In baskets, they may need to be watered daily during the summer. Always allow your Vanda to dry out between waterings. Try to water the plant early in the day, so that the foliage will be dry by nightfall. If you are growing your Vanda in a greenhouse, and the humidity is constantly high you can use Physan 20 once a month (add it to your water) to prevent bacterial and fungal disease.
HUMIDITY
Although Vandas generally prefer 60% to 80% humidity, I can report that my greenhouse almost never has humidity this high. If you can increase the humidity during the growing season, from early spring through late fall, your Vanda will thank you for it. During the summer, watering should be supplemented with daily misting of the leaves. Humidity trays may be needed if your Vandas are growing indoors.
FERTILIZER
Vandas are heavy feeders. They must be fertilized on a regular basis! For best results, use nutrients every week. The experts recommend that you water the plants first with plain water, and then water the plant with a 1/4 strength nutrient solution. Once a month water only with plain water to flush out any excess fertilizer.
POTTING
Vandas may be grown in a medium to large sized Orchid Bark Mixture or you can grow them in wire or wooden baskets, which can then be suspended (hung up) by a wire hanger attached to the cage. Plants grown in baskets do not need to be repotted often as those in pots. Vandas grown in regular potting mix in pots should be repotted once every two years. Repotting should be done in the spring.
It is almost impossible to extract a vanda from a “basket” or “cage” once it has become attached to it. When my vandas outgrow their smaller “baskets” I generally leave them in that basket and just place the entire small basket inside a larger basket. I carefully thread the roots through the holes of the new basket and try not to damage the roots as much as possible. One of my Vandas which is currently in an 8″ square wooden (redwood) cage has three smaller “cages” inside the basket from prior stages of its life. It does no harm to leave the old basket(s) there if they are in good shape and not starting to rot.
If your Vanda’s home “Basket or cage” begins to rot (which may also mean that you are overwatering) then you must re-pot for the health of the plant. You will need to extract the roots as carefully as possible before re-potting it in its new home. Soaking the roots for a couple of hours before attempting this will soften the plants roots and make it easier for you to handle them and try to get it out of its old pot. Take your time, and save as many roots as possible. Even if you lose a few roots, the plant should rebound and adapt to it’s new home in no time.
SELECTING YOUR VANDA
Vandas are becoming more available to hobby growers and can usually be found for sale at Orchid Shows and they are also available for purchase from many Orchid Growers websites. You will probably want to start with a smaller specimen, as they are much easier to transport and would be much less expensive. Your Vanda may need to get a bit bigger before it will bloom. Your patience will be rewarded with a spectacular show of flowers.
PESTS Common pests associated with Vandas are scale and spider mites. Check your plant often to make sure it is pest free. Check our section on pest control if you notice any “freeloaders” hanging around your plant. Vandas hung up from the rafters and/or suspended are much less likely to get pests. Best of luck with your Vandas and enjoy the spectacular blooms.


You must be logged in to post a comment.